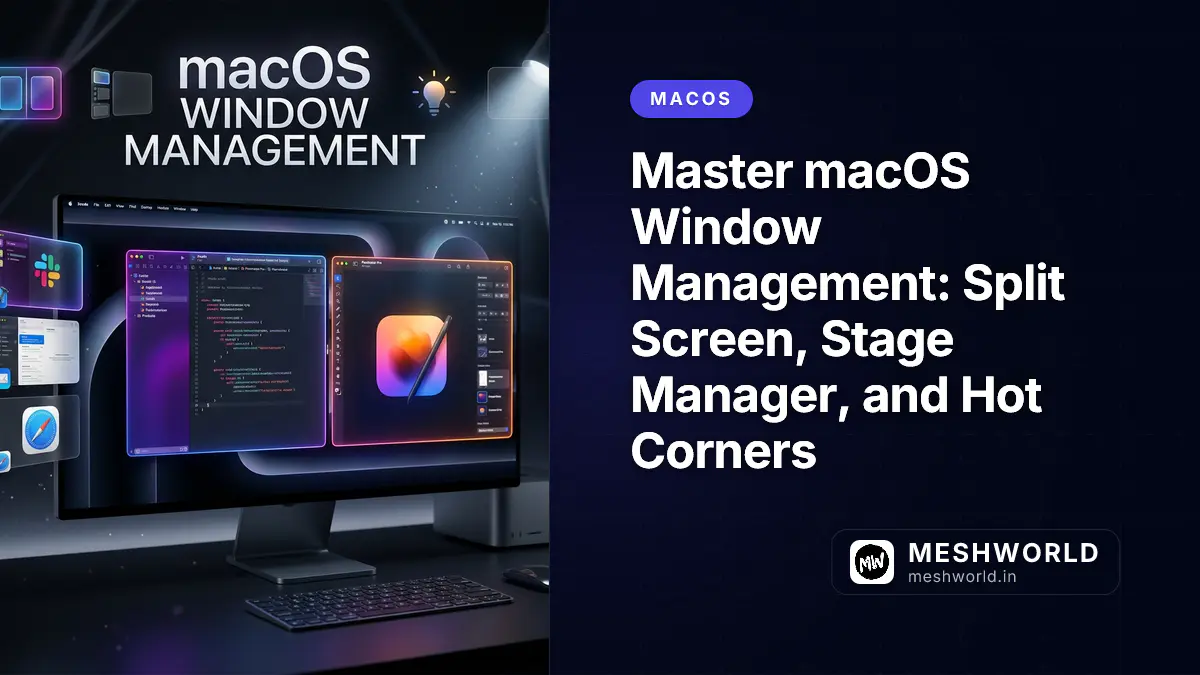
Your Screen Is Bigger Than You Think
You don’t need a second monitor to be productive. What you need is to use the screen you already have more effectively.
Most Mac users work with one window maximized, then switch to another app when needed. This is the digital equivalent of having a desk with only one sheet of paper on it. You constantly shuffle papers instead of spreading them out and working with multiple sources simultaneously.
macOS provides powerful built-in tools for managing screen real estate:
- Split Screen tiles two apps side-by-side
- Stage Manager keeps apps accessible but organized
- Hot Corners trigger actions with a flick of your cursor
- Spotlight doubles as a calculator and converter
- Menu Bar customization puts settings at your fingertips
This guide covers each feature with step-by-step instructions and practical use cases.
Split Screen: Two Apps, One Screen
Split Screen divides your display between two full applications. It’s perfect for referencing source material while writing, comparing documents, or monitoring one window while working in another.
How to Activate Split Screen
- Open two application windows (e.g., Safari and Notes)
- Hover your cursor over the green full-screen button in the top-left corner of either window
- A menu appears with options: “Tile Window to Left of Screen” or “Tile Window to Right of Screen”
- Click your preferred side
- The other side of your screen shows thumbnails of other open windows
- Click the window you want on the other side
To exit Split Screen:
- Click the green button again, or
- Press
Escape, or - Move your cursor to the top of the screen to reveal the menu bar, then click the green button
Resizing Split Screen Windows
Once in Split Screen mode, drag the vertical divider between windows to adjust the split ratio. You can give one app 70% and the other 30%, or keep them equal at 50/50.
macOS Sequoia Enhancement: Four-Way Tiling
In macOS Sequoia and later, Split Screen expanded to support four-way tiling:
- Left, Right, Top, or Bottom positioning
- Four quadrants for maximum multitasking
To enable the margin between windows (visual separation):
- Open System Settings > Desktop & Dock
- Toggle “Tiled windows have margins”
Practical Use Cases
| Scenario | Left Side | Right Side |
|---|---|---|
| Research & Writing | Source article (Safari) | Writing app (Notes/Word) |
| Code Review | Original code (VS Code) | Pull request (GitHub) |
| Video Learning | Tutorial video (YouTube) | Notes app |
| Communication | Slack/Teams | Work document |
| Comparison | Document A | Document B |
Pro Tip: Drag Tabs Between Split Windows
If you have two browser windows in Split Screen, you can drag tabs from one window to the other. This is invaluable when organizing research—you find something on the left, drag it to the right window for your reference collection.
Stage Manager: Organized Full-Screen Work
Stage Manager (introduced in macOS Ventura) takes a different approach to multitasking. Instead of splitting your screen, it keeps your current app centered and ready for focus, while other apps sit in a sidebar waiting for quick access.
How Stage Manager Works
- Enable Stage Manager in System Settings > Desktop & Dock > Stage Manager
- Your current window stays centered, taking up most of the screen
- Recently used apps appear in a sidebar (left or right, your choice)
- Desktop items remain visible (optional)
- Click any app in the sidebar to switch to it—it becomes centered, and the previous app moves to the sidebar
Customizing Stage Manager
Click the Customize button in Stage Manager settings:
App Sidebar Position:
- Left side of screen
- Right side of screen
Desktop Items:
- Show desktop items (files on your desktop remain visible)
- Hide desktop items (cleaner look, but can’t click desktop files)
Recent Apps:
- Show recent apps in Stage Manager
- Hide recent apps (sidebar shows only manually added apps)
When to Use Stage Manager vs. Split Screen
| Use Stage Manager When… | Use Split Screen When… |
|---|---|
| You work primarily in one app at a time | You need to see two apps simultaneously |
| You switch between 3-6 apps frequently | You reference one app while typing in another |
| You prefer full-screen focus | You compare documents side-by-side |
| You want quick visual access to recent apps | Screen real estate is precious |
Pro Workflow: Hybrid Approach
Many power users combine both features:
- Use Stage Manager as the default mode
- When you need side-by-side comparison, activate Split Screen for just those two apps
- Exit Split Screen to return to Stage Manager organization
Hot Corners: Actions at Screen Edges
Hot Corners trigger actions when you move your cursor to any corner of the screen. Configure all four corners with different actions for instant access to common functions.
Setting Up Hot Corners
- Open System Settings > Desktop & Dock
- Scroll to the bottom and click Hot Corners
- A dialog shows four dropdown menus (one for each corner)
- Select an action for each corner
- Click Done
Available Hot Corner Actions
| Action | What It Does |
|---|---|
| Start Screen Saver | Activate screen saver |
| Disable Screen Saver | Prevent screen saver from starting |
| Put Display to Sleep | Turn off display (keeps computer running) |
| Lock Screen | Lock your Mac (requires password) |
| Show Desktop | Minimize all windows to show desktop |
| Application Windows | Show all windows of current app |
| Mission Control | Show all open windows and spaces |
| Notification Center | Open Notification Center |
| Launchpad | Show all installed apps |
| Quick Note | Open a new Note instantly |
| None | No action assigned |
Recommended Hot Corner Configurations
Productivity Setup:
- Top Left: Quick Note (instant note-taking)
- Top Right: Notification Center (check alerts)
- Bottom Left: Lock Screen (security when stepping away)
- Bottom Right: Put Display to Sleep (save power)
Developer Setup:
- Top Left: Mission Control (see all windows)
- Top Right: Show Desktop (access files quickly)
- Bottom Left: Lock Screen
- Bottom Right: Application Windows (current app overview)
Minimal Setup:
- Bottom Left: Lock Screen (only security corner)
- All others: None (prevents accidental triggers)
If you find yourself accidentally triggering Hot Corners while working, either: 1. Reduce the number of active corners (use “None” for corners you hit accidentally) 2. Use Modifier Key options (hold a key while hitting the corner) 3. Disable Hot Corners entirely if they cause more friction than benefit
Quick Note Corner
The Quick Note action deserves special mention. When you trigger it:
- A small Notes window appears instantly
- Type your thought, idea, or reminder
- Close the window—it saves automatically
- Find it later in the Notes app under “Quick Notes”
This is perfect for capturing ideas without breaking your workflow.
Spotlight: More Than Just Search
Most users know Spotlight (⌘ + Space) for finding files and apps. But it’s also a calculator, currency converter, dictionary, and unit converter—all without opening any apps.
Spotlight as Calculator
Press ⌘ + Space, then type any mathematical expression:
45 * 12
= 540

(150 + 230) / 2
= 190

sqrt(144)
= 12

2^10
= 1024
Press Enter to copy the result to your clipboard.
Currency Conversion
Type an amount with currency codes:
100 USD to EUR
= 92.15 EUR (live rate)

500 JPY to USD
= 3.32 USD
Spotlight pulls real-time exchange rates from Yahoo Finance.
Unit Conversion
Convert between measurement systems:
5 feet to meters
= 1.52 meters

70 fahrenheit to celsius
= 21.1°C

1 gallon to liters
= 3.79 liters
Dictionary Lookups
Type a word to see its definition:
serendipity
= noun: the occurrence of events by chance in a happy or beneficial way
Quick Reference: Spotlight Power Uses
| What to Type | Result |
|---|---|
45 * 12 | Calculator result |
100 USD to EUR | Currency conversion |
5 km to miles | Unit conversion |
serendipity | Dictionary definition |
weather | Local weather |
define:word | Force dictionary lookup |
Menu Bar Customization: Quick Settings Access
The menu bar at the top of your screen contains system information and controls. But it’s often cluttered with items you never use. Clean it up to show only what matters.
Customizing Control Center Modules
- Open System Settings > Control Center
- Each module has options:
- Show in Menu Bar: Always visible
- Show When Active: Only appears when relevant (e.g., Bluetooth when connected)
- Don’t Show: Hidden entirely
Recommended Menu Bar Setup
Always Show:
- Wi-Fi (status and quick network switch)
- Bluetooth (if you use AirPods or peripherals)
- Battery (percentage remaining)
- Sound (volume control)
Show When Active:
- Screen Mirroring (only when casting)
- Focus (only when a focus mode is on)
- Keyboard Brightness (only on MacBooks)
Don’t Show:
- Siri (use voice or keyboard shortcut instead)
- Time Machine (backup happens automatically)
- Accessibility (rarely changed)
Pro Tip: Hidden Menu Bar
Enable automatic hiding:
- System Settings > Desktop & Dock > Automatically hide and show the menu bar
- Choose “Always” or “In Full Screen”
- Move your cursor to the top of the screen to reveal it
This creates a cleaner desktop, especially on smaller screens.
Mouse Speed: Beyond System Preferences
The Mouse settings in System Preferences have a maximum speed limit. If that still feels slow (especially on large displays), you can override it using Terminal.
Check Current Mouse Speed
Open Terminal and run:
defaults read -g com.apple.mouse.scalingApple’s default is typically 3.0.
Increase Mouse Speed
Run this command with your preferred value:
defaults write -g com.apple.mouse.scaling 6.0Recommended values:
5.0-7.0: Moderate increase (good starting point)8.0-10.0: Fast movement (large displays)3.0: Return to default
Note: It takes 1-2 days to adapt to faster mouse speed. Once accustomed, you’ll navigate large screens significantly faster.
Trackpad Speed
For trackpads, the same command applies, but you can also adjust in: System Settings > Trackpad > Tracking Speed
The Terminal method bypasses the GUI limit for both mouse and trackpad.
Display Comfort: Night Shift
Night Shift reduces blue light emission in the evening, making screen time easier on your eyes and potentially improving sleep quality.
Enabling Night Shift
-
Open System Settings > Display > Night Shift
-
Choose schedule:
- Sunset to Sunrise: Automatic based on location
- Custom: Set your own hours
- Manual: Toggle on/off as needed
-
Adjust the Color Temperature slider:
- Less Warm (bluer, closer to normal)
- More Warm (oranger, easier on eyes)
When to Use Night Shift
| Time | Recommendation |
|---|---|
| Morning/Day | Off (normal color accuracy) |
| Evening (after 6 PM) | On (reduced blue light) |
| Working with color | Off (accurate colors) |
| Reading long documents | On (easier on eyes) |
Quick Reference: Window Management Shortcuts
| Shortcut | Action |
|---|---|
⌘ + Space | Open Spotlight |
F11 | Show Desktop (all windows fade) |
⌃ + ↑ | Mission Control (all windows) |
⌃ + ↓ | Application windows (current app) |
⌃ + ←/→ | Switch between Spaces |
⌘ + M | Minimize window |
⌘ + H | Hide application |
⌘ + Option + H | Hide other applications |
⌘ + `` | Switch between windows of same app |
⌘ + W | Close window |
⌘ + Q | Quit application |
Putting It All Together: A Sample Workflow
Morning Setup:
- Enable Stage Manager for organized workspace
- Set Hot Corners: Quick Note (top-left), Lock Screen (bottom-left)
- Customize menu bar: Show only Wi-Fi, Battery, Time
Deep Work Session:
- Use Split Screen: Documentation on left, code editor on right
- Trigger Hot Corner Quick Note to capture ideas without switching apps
- Use Spotlight calculator for quick math without leaving your editor
End of Day:
- Night Shift automatically activates at sunset
- Bottom-left Hot Corner locks screen when stepping away
- Stage Manager keeps tomorrow’s priority apps ready in sidebar
Troubleshooting Common Issues
Split Screen Not Working
- Ensure both apps support full-screen mode
- Some apps (particularly older ones) don’t support Split Screen
- Try Mission Control (
⌃ + ↑) to manually arrange windows
Hot Corners Trigger Accidentally
- Reduce to 1-2 corners instead of 4
- Use “None” for corners you frequently hit
- Consider using Modifier Keys with Hot Corners
Spotlight Calculator Not Working
- Ensure Spotlight indexing is enabled
- Check System Settings > Siri & Spotlight > Spotlight Search
- Make sure “Calculator” is checked in the list
Stage Manager Sidebar Disappears
- Move cursor to screen edge to reveal it
- Check if “Show recent apps” is enabled in settings
- Ensure you’re not in full-screen mode for an app
Related Articles
Continue optimizing your Mac workflow:
- Keyboard Mastery on macOS — Master shortcuts and text snippets
- Finder Mastery: 15 Power User Tricks — Navigate files faster than ever
- The Connected Mac: iPhone Mirroring, Universal Control, and Continuity Camera — Use your Apple devices together seamlessly
- macOS Screenshot & Media Mastery — Capture, edit, and share visual content
- Hidden macOS Settings: 20 Customizations Most Users Never Discover — Personalize your Mac beyond the obvious
Related Articles
Deepen your understanding with these curated continuations.
Master Mission Control: Virtual Desktops and Space Management on macOS
Expand your workspace with virtual desktops. Learn to create Spaces, assign apps to specific desktops, and navigate between contexts with gestures and shortcuts.
Voice Control & Dictation: Hands-Free macOS Productivity
Control your Mac with your voice. Master dictation for fast text input and Voice Control for hands-free navigation and commands.

Safari Power User Guide: Tab Groups, Reader Mode, and Privacy Features
Master Safari with tab groups for organized research, Reader Mode for distraction-free reading, privacy reports, and extensions that boost productivity.