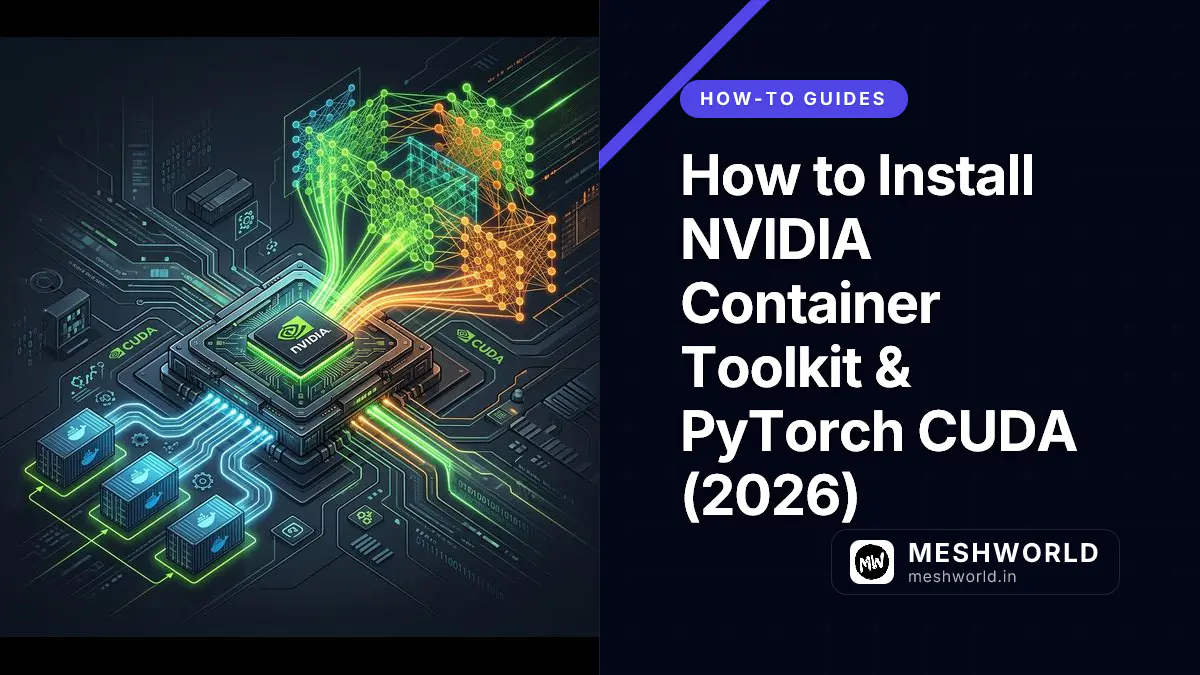
Leveraging NVIDIA GPU hardware acceleration is critical for modern machine learning, deep learning model training, LLM inference (Ollama, vLLM, TensorRT-LLM), and computer vision pipelines. To run GPU-accelerated AI workloads inside Docker containers or native Python environments on Ubuntu 24.04 LTS (Noble Numbat) or 22.04 LTS (Jammy Jellyfish), developers must configure three core layers: NVIDIA proprietary display drivers, the NVIDIA Container Toolkit (nvidia-ctk), and PyTorch compiled with CUDA 12 support.
Here is the complete step-by-step setup guide for 2026.
Last updated: July 24, 2026
What are the system requirements for PyTorch CUDA hardware acceleration?
Running PyTorch with CUDA hardware acceleration requires an Ubuntu or Debian Linux system with an active NVIDIA GPU, proprietary NVIDIA display drivers, and Docker Engine 24.0+ installed.
Ensure your workstation or cloud server satisfies these baseline hardware and software prerequisites:
- Operating System: Ubuntu 24.04 LTS, 22.04 LTS, or Debian 12
- GPU Hardware: NVIDIA GPU (GeForce RTX series, GTX 10 series or newer, Tesla/Data Center A100/H100/L40S)
- Privileges: User account with
sudoadministrative rights - Prerequisites: Docker Engine 24.0+ and Python 3.10+ installed
How do you install NVIDIA GPU drivers on Ubuntu?
To install NVIDIA GPU drivers on Ubuntu, run ubuntu-drivers devices to inspect recommended driver packages and install nvidia-driver-550 or higher using the apt package manager.
Before configuring container runtimes, install the matching NVIDIA proprietary Linux driver.
Step 1: Detect Recommended NVIDIA Drivers
Open terminal (Ctrl+Alt+T) and inspect recommended driver versions for your installed GPU hardware:
sudo apt update
sudo apt install -y ubuntu-drivers-common
ubuntu-drivers devices
Step 2: Install Recommended Driver Package
Install the recommended driver (e.g. nvidia-driver-550 or latest production branch):
sudo apt install -y nvidia-driver-550Step 3: Reboot System and Verify GPU Status
Reboot your computer to load kernel modules:
sudo rebootAfter rebooting, verify driver initialization using nvidia-smi:
nvidia-smiExpected output displays GPU name, VRAM memory usage, driver version, and supported CUDA version.
How do you install the NVIDIA Container Toolkit (nvidia-ctk)?
To install the NVIDIA Container Toolkit, add the official NVIDIA GPG key and repository list to APT, install nvidia-container-toolkit, and run nvidia-ctk runtime configure --runtime=docker.
The NVIDIA Container Toolkit enables Docker containers to share host GPU resources using --gpus all.
Step 1: Add NVIDIA Repository Keyring
Import the official NVIDIA Container Toolkit APT repository:
sudo apt update
sudo apt install -y curl ca-certificates gpg

# Import official NVIDIA GPG key
curl -fsSL https://nvidia.github.io/libnvidia-container/gpgkey | sudo gpg --dearmor -o /usr/share/keyrings/nvidia-container-toolkit-keyring.gpg

# Add repository list
curl -s -L https://nvidia.github.io/libnvidia-container/experimental/deb/libnvidia-container.list | \
  sed 's#deb #deb [signed-by=/usr/share/keyrings/nvidia-container-toolkit-keyring.gpg] #' | \
  sudo tee /etc/apt/sources.list.d/nvidia-container-toolkit.list
Step 2: Install NVIDIA Container Toolkit
Update package index and install nvidia-container-toolkit:
sudo apt update
sudo apt install -y nvidia-container-toolkit
Step 3: Configure Docker Daemon Runtime
Configure Docker to use the NVIDIA Container Runtime:
sudo nvidia-ctk runtime configure --runtime=dockerRestart Docker service to apply runtime configuration changes:
sudo systemctl restart dockerStep 4: Verify Docker GPU Passthrough
Execute a temporary CUDA container using --gpus all to test passthrough:
docker run --rm --gpus all nvidia/cuda:12.4.1-base-ubuntu22.04 nvidia-smiIf successful, nvidia-smi output will render inside the container shell.
How do you install PyTorch with CUDA 12 support?
To install PyTorch with CUDA 12 support, create a Python virtual environment and run pip install torch torchvision torchaudio --index-url https://download.pytorch.org/whl/cu124.
Install PyTorch compiled against CUDA 12 libraries within an isolated Python virtual environment.
Step 1: Create a Python Virtual Environment
sudo apt install -y python3-venv python3-pip

# Create virtual environment directory
python3 -m venv ai_env

# Activate environment
source ai_env/bin/activate
Step 2: Install PyTorch with CUDA 12 Wheels
Install torch, torchvision, and torchaudio specifying the official PyTorch CUDA 12 wheel index URL:
pip install --upgrade pip
pip install torch torchvision torchaudio --index-url https://download.pytorch.org/whl/cu124
Step 3: Verify PyTorch GPU Detection in Python
Run a inline Python script to confirm CUDA availability:
python3 -c "import torch; print('CUDA Available:', torch.cuda.is_available()); print('Device Count:', torch.cuda.device_count()); print('GPU Name:', torch.cuda.get_device_name(0) if torch.cuda.is_available() else 'CPU')"How do you restrict PyTorch to specific GPU devices?
To restrict PyTorch to specific GPU devices, set the CUDA_VISIBLE_DEVICES environment variable (e.g. CUDA_VISIBLE_DEVICES=0) before launching Python or container runtimes.
On multi-GPU servers or workstations containing multiple NVIDIA graphics cards, use the CUDA_VISIBLE_DEVICES environment variable to isolate execution to specific physical GPUs:
# Force PyTorch to utilize only GPU index 0
CUDA_VISIBLE_DEVICES=0 python3 train.py

# Expose GPU 0 and GPU 1 to PyTorch for multi-GPU training
CUDA_VISIBLE_DEVICES=0,1 python3 train.py
Inside Docker containers, pass device indices using the --gpus container runtime flag:
# Expose only GPU device 0 to the container workspace
docker run --rm --gpus '"device=0"' nvidia/cuda:12.4.1-base-ubuntu22.04 nvidia-smi
Expected output:
CUDA Available: True
Device Count: 1
GPU Name: NVIDIA GeForce RTX ...Frequently Asked Questions (PAA)
Do I need to install CUDA Toolkit separately if I use PyTorch?
No. Official PyTorch wheels installed via --index-url https://download.pytorch.org/whl/cu124 bundle their own isolated CUDA runtime libraries. However, installing system CUDA Toolkit (cuda-toolkit) is required if compiling custom C++/CUDA extensions from source.
What flag passes specific GPUs into Docker containers?
To pass all GPUs: --gpus all. To pass a specific GPU index (e.g. GPU 0): --gpus '"device=0"'.
How do I monitor GPU memory usage in real time?
Run nvidia-smi -l 1 in terminal to refresh GPU VRAM and compute utilization every 1 second, or install nvtop (sudo apt install nvtop) for an interactive graph view.